Showing posts with label hand quilting. Show all posts

Wednesday, June 6, 2012

Play Mat

I finished my first sewing project for my boys, and I couldn't be happier with it:


No shopping required for this little play mat: I fell in love with the Storyboek prints and added them to my stash a while ago, and the Kona Medium Gray and Butter went with it perfectly. I even had the binding on hand! Nothing quite like a nice soft satin corner to nuzzle against (especially one made by mom...eekk, I'm the mom!!).

The back

 I've long admired Ashley's strip quilts, and it was so easy and fun to make one of my own. This one finished at about 44"x50". I used a combination of quilt-as-you-go, machine top-stitching, and hand-quilting with perle cotton thread.

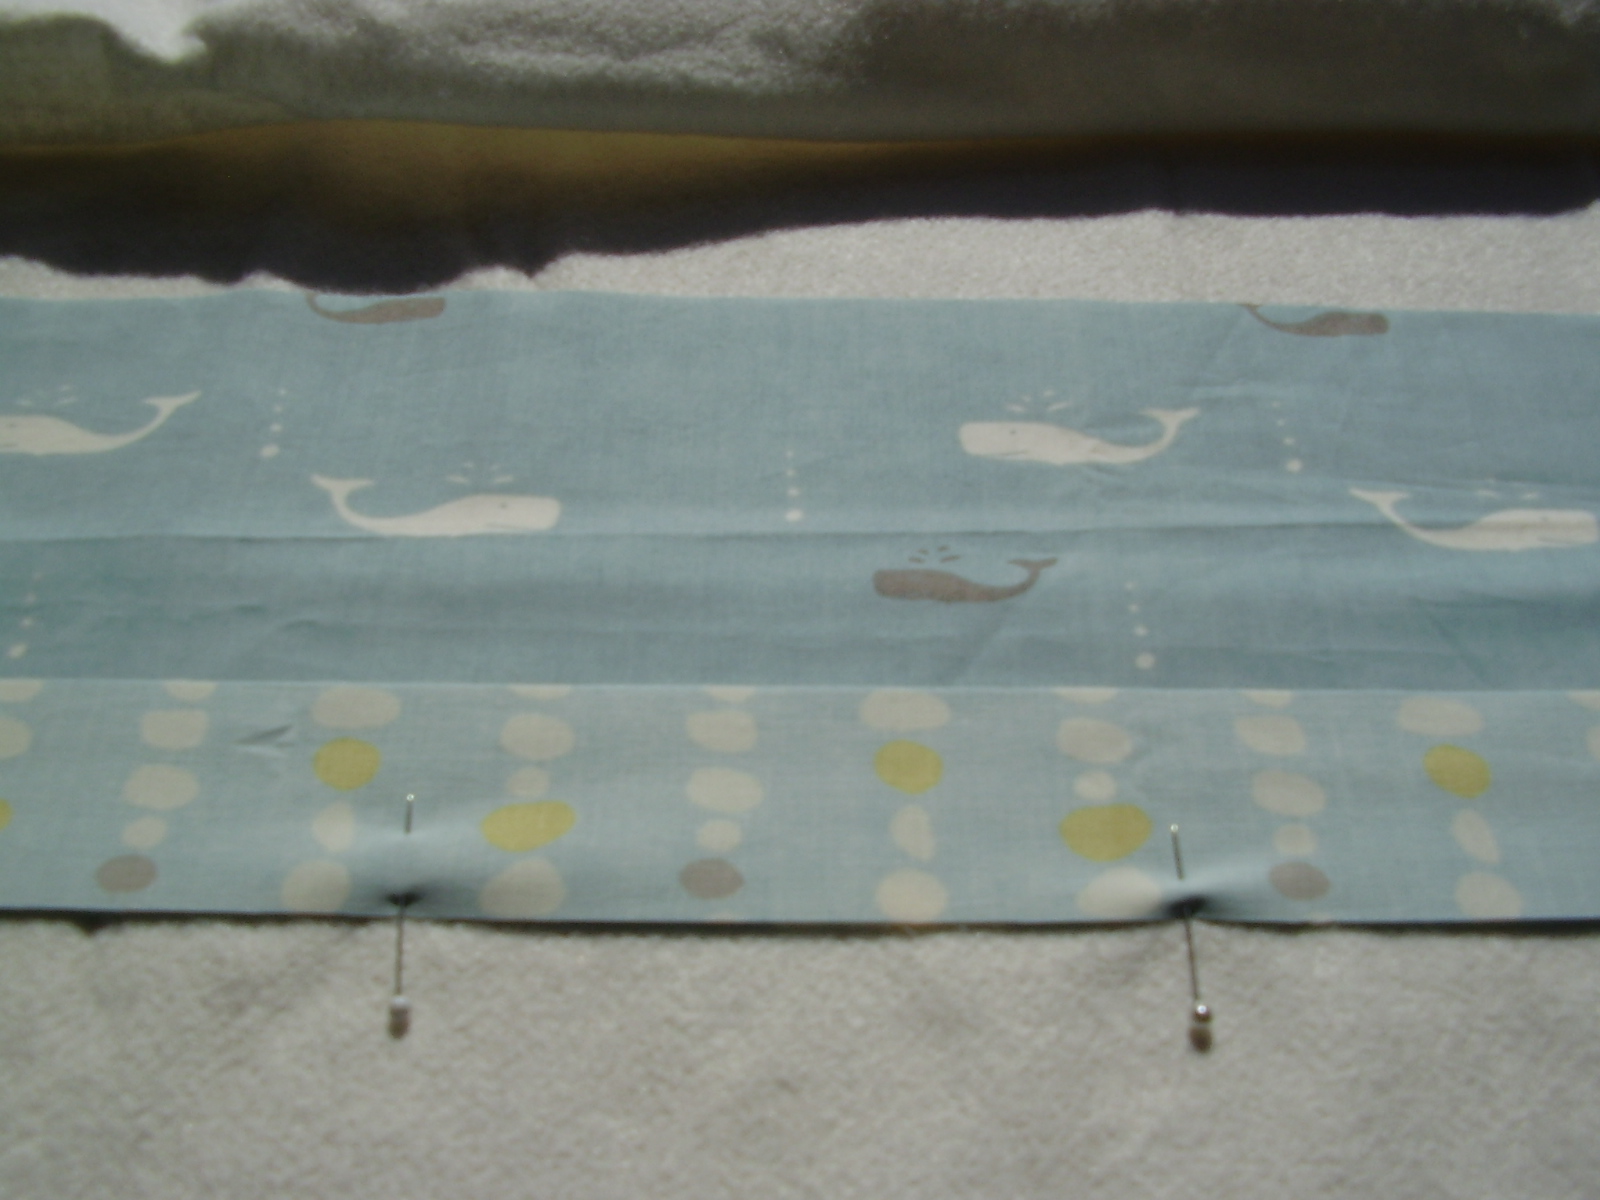
I like the variety of texture ALMOST as much as the minimal basting!! I didn't even spray-baste, as Nova suggests. I just pinned the strips for the backing down, and went from there. I lined everything up by eye, and it worked out fine.


23 weeks!


Since I usually use a self-binding method, I had some difficulties with the binding. First, I started sewing it on from left to right (bad), then I tried to make a mitered corner without setting the edge of the binding flush with the edge of the quilt (impossible). Ah, lessons learned.

I can't wait to see my sons enjoying this cozy play place! Though currently they seem pretty content to battle it out in the womb...I get such a kick out of watching my belly lurch around as they stretch and play in there.

Mumu and my brother's quilt are on their way back from the long-arm quilter's magic hands! They should arrive by Friday. I can't wait to bind those puppies and send my brother's on its way to him. But first...I may find a crafty way to incorporate his beloved freshman beanie.

A search through my stash revealed a few hidden gems that I'd forgotten about. Twice the kids means twice the quilts! What could make a cozier quilt backing than this luscious velveteen? I've just got to figure out what the front should look like.

And you can never have too many receiving blankets, right? (Much, much more AMH flannel and voile are on their way to my doorstep as we speak.)

This will become a few new couch pillows. Our current pillows are much loved, much used, and much mismatched from our whole living room. Time for a change!

As for my other projects...I've gotten in quite a bit of hand-quilting on Paisley Sunrise, but any sort of cutting, piecing, and laying out quilt tops takes a lot out of me and I've been pacing myself carefully. I've got at least 14 weeks before the babies arrive (ack!! is that all?!), so I hold out hope for my other WIPs...if I can manage not to add more to the list!

Check out more progress at Lee's:

Tuesday, November 1, 2011

Blogger's Quilt Festival

After browsing through many wonderful blogs featured on Amy's Creative Side, and reading truly amazing stories about quilts, I was inspired to share one of my own.

This is my very first machine-pieced, full-sized quilt, completed in 2006.


My then-boyfriend (now the one and only Mr Awesome ;o) had a big birthday coming up and I wanted to give him something really special. Like, really super special. (I was pretty sure he was the one.) I decided to make him a quilt.

The year before I'd made a doll quilt from a kit, plus I'd made two mini-quilts when I was about ten years old. All were pieced and quilted entirely by hand. I didn't even begin to guess how unprepared I was to tackled a full-sized quilt. Good thing my stitchin' mama was only a phone call away, of which I took copious advantage:

"Hi, honey, how's it going?"
"Mom. There's no time for small talk. I have a sewing problem."
"Oh okay. What is it?"
"How do I thread this stupid machine again?"


Ah, that machine. It was a Brother (more like a Bother), a very thoughtful gift from my mom, and a giant pain in my tush. Not that I didn't pull and tug the fabric every which way trying to get my poorly cut pieces to magically fit together (I didn't have a concept of 1/4" seams OR squaring up). Needless to say, our relationship had its share of communication problems. From which issued forth many rectangular blocks that were supposed to be, ahem, square (ideally). Ironically, the quilt itself was supposed to be rectangular, yet ended up more square-ish.

If only I had discovered the liberated piecing movement earlier!

Anyway, my woodsy sweetheart loves all things outdoor-ish, so I selected a pattern using Bear Paw blocks out of a traditional quilting book. I chose 4 different color combos to represent the different seasons.

Winter, when everything is cool and dark.

Spring, when the rain comes and everything blooms.

Summer, when the sun bakes everything to within an inch of its life.

Fall, when everything is really dead, dry, and brittle.

It's possible my Southwestern experience of seasons clashed slightly with Mr Awesome's New England notion of them. ;o)

This quilt took about 3 years. I hand-quilted it by stitching in the ditch, most of it without a hoop. There were big plans to do some embroidery in the black squares (a tree in the colors of each season) but I really wasn't up to the challenge, and honestly, I think it would have been a bit overdone.

I presented the finished quilt to my guy for his birthday in 2006. He immediately put it on his bed and we still sleep under it every night. It's gotten a bit faded, but what can you do? It's a family quilt that was made to be used.

This quilt taught me some important lessons:
1. Quilting has so. many. STEPS!
2. Which means you have to go slow and enjoy the process. And not expect to finish in a month.
3. And celebrate small victories. Like making HSTs. Or cutting off the corners of them!
4. Patience is a virtue (that I need to work on :o)
5. Pins are your friend.
6. Better to rip out a seam than deal with the same problem over and over again.
7. Better to just line it up right and sew it carefully than rush through and have to do every seam over.
8. Good tools make all the difference.
9. Quilting is best when you can share the process with like-minded folks.
10. Every bit of frustration is worth it when you cuddle into that pocket of softness and think, "I made this!"

Thanks, quilt. You may get an extra snuggle tonight!

Check out more stories at Amy's:

Amy'sCreativeSide

Saturday, October 1, 2011

Let Block Party Bee Begin!


Friends, I live in San Francisco. Where everything is hip, modern, and progressive...except quilting. Since the amazing Peapod Fabrics closed, going to the fabric store means a) sifting through bins of fake fur, glitter spandex, pleather, and felt in search of material for a Halloween/Pride/Street Fair costume, b) paying $100/yard for designer silks and upholstery fabric to go in your fancy mansion, and/or c) finding the 2-3 bolts of outdated cotton stuffed into the back corner and wishing you were into something else, anything else-- since the materials for knitting, painting, decoupage, re-upholstery seem to be on hand at every turn. It makes Joann's look like Mecca.

How does such a beautiful city lack beautiful fabric choices? I don't know.

For example, I once made a t-shirt. After a 3-day, 4-store hunt for a piece of jersey. Not that I found some options and didn't like them, no, I mean I bought the first one I actually found (it wasn't ugly, but it was expensive).

It gets worse! I lived in the same building as a fabric store for a year and didn't buy anything there except elastic and ribbon. Yeah. It's like that.

I guess the best city in the world has to have at least one flaw.

Anyway, the point of this rant is to say that the virtual modern quilting community has become my water in the quilting desert. Which is why I was SO EXCITED when my first package of fabric arrived from Shelley, officially kicking off my FIRST BEE EVER, the Block Party Bee!

For our first month, Shelley picked the confetti block. Here's what she sent:


Don't know how she knew, but I'm glad I got a ton of green :o) So I added a bit from my stash:


Looks pretty good, if I do say so m'self. I'll be cutting into this one today.

Since I was laying out fabric, I pulled out this little square of Canyon Flutter by Alexander Henry (sent to me gratis with an order from Fresh Modern Fabrics!) and set up some pieces for another block in the yellow and green sampler I've been working on.


I've also been cuddling up with a little hand-quilting in the evenings. My liberated cables are progressing nicely, now that I've got the hang of it.


Much much better than trying to make them perfectly even! I love the organic flow of the curves.


It's hard to get a good pic of the white on white pattern, but I can assure you...it looks cool ;o) Time to go play with confetti.

Tuesday, August 23, 2011

Free-hand Cables

Poor neglected blog! Many things have cut you in the "line of priorities" the past couple weeks. Welcome back to the front of the queue.


Much inspired by this crazy awesome quilting, (paradigm shifting!) I decided to make traditional Amish cables freehand. This is more difficult than I imagined. Because I want them to look free, not...well, hideous.


I've been drawing the lines with a water-soluble fabric pen, then quilting along them. I can't manage without the lines because I don't quilt like normal...I take each stitch individually. Which is embarrassing to admit, in a way. It's ultra slow and probably violates like ten Laws of the Quilt Police. I wasn't even aware there was a "way" until last year. When I tried the traditional quilting technique, it was crazy hard and rather unsatisfying. So back to my (unique? original?) methods.

While my technique (as it were) is liberated enough, I still struggle to make the cables as free and twisty as I wish to see them.

Here's to embracing truly Free Motion.